When it comes to buying a TV, Phillips TV is among the list of best TVs. It has good quality and plenty of advanced features. But sometimes, you might encounter issues while using the Philips TV remote not working. Users are often unaware of how to resolve this problem. So they decide to purchase a new remote. The question is: should you buy a new remote? No. Instead, you should try the tips and fixes mentioned in this article. After implementing them, you won’t need to worry about the Philips remote not working. So keep reading.
Quick Answer: If your Philips TV remote isn’t working, the first thing you should check is the remote’s software and hardware issues. Then, follow the troubleshooting steps mentioned in this guide. Also, check the signal between the remote and the TV. Ensure it’s not weak; otherwise, it’ll impact the remote’s functioning.
Methods To Fix Philips TV Remote Not Working
There are several methods to fix a Philips TV remote that is not working. However, this guide will share only the most effective tips so you don’t have to buy a brand-new Philips TV remote.
1. New Batteries
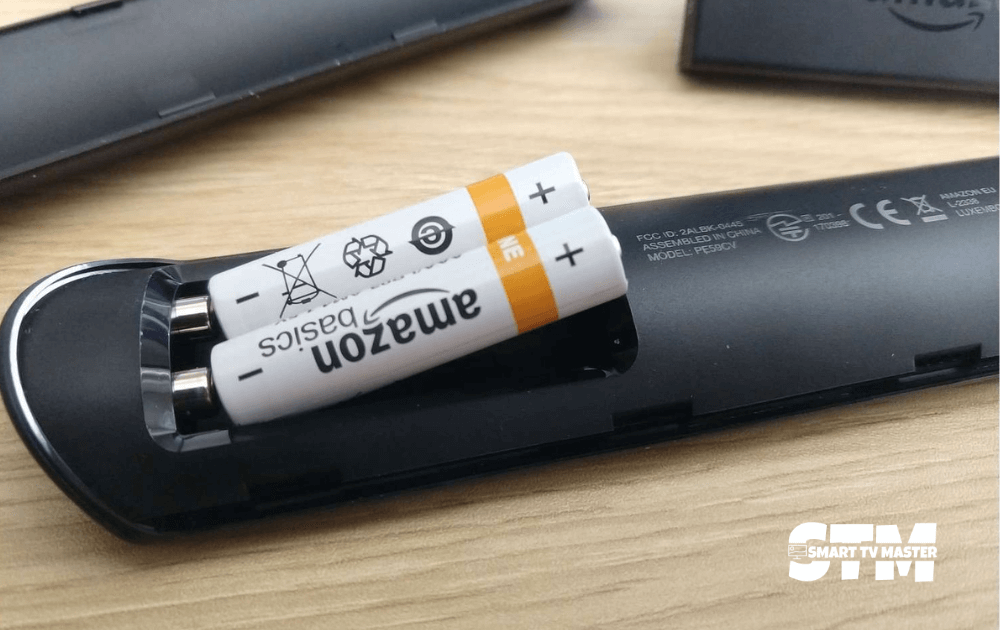
If your Philips TV remote isn’t working, the first thing you should do is check your remote batteries. They run out of power and then become a major nuisance. Dead or low batteries directly impact remote control and TV signaling. To check if the batteries are working fine, insert them in another remote or device that runs on batteries. If the device seems to work fine, that indicates the batteries don’t need to be replaced.
But if the batteries aren’t working fine, then follow the method to replace them with new ones.
- Check the back cover of your Philips TV remote.
- Open the cover and remove old batteries from the remote.
- Insert the new batteries in the remote. Make sure you insert batteries according to proper positive and negative terminals.
Pro Tip: Check which remote battery is best for your Philips TV remote. So avoid doing guesswork and save yourself from long-term hassle.
2. Remote Status Checking
You’ve replaced the batteries in the remote, but it’s still not working. Why is that happening? What should you do now? You should check whether the Philips remote’s infrared transmitter is working. To do this, you’ll need a smartphone. So, let’s see how to do it.
- Tap on the Camera icon of your smartphone.
- Open the app and point it to the front part of your Philips TV remote.
- Press all the buttons on the remote.
- If the LED is blinking from the screen of a smartphone, that means the remote is working properly.
If your remote control LED doesn’t emit any light, that means your remote is malfunctioning. In that case, you should replace the batteries of the Philips TV remote. For this, simply follow the method mentioned above. After replacing the batteries, follow the same method again. If the LED still doesn’t emit any light again, you should replace the remote control. Meanwhile, if the LED indicator of the remote is on, then your TV remote is not malfunctioning. Your Philips TV remote isn’t working, so you should follow the troubleshooting steps for Philips TV.
3. Restart Your Remote
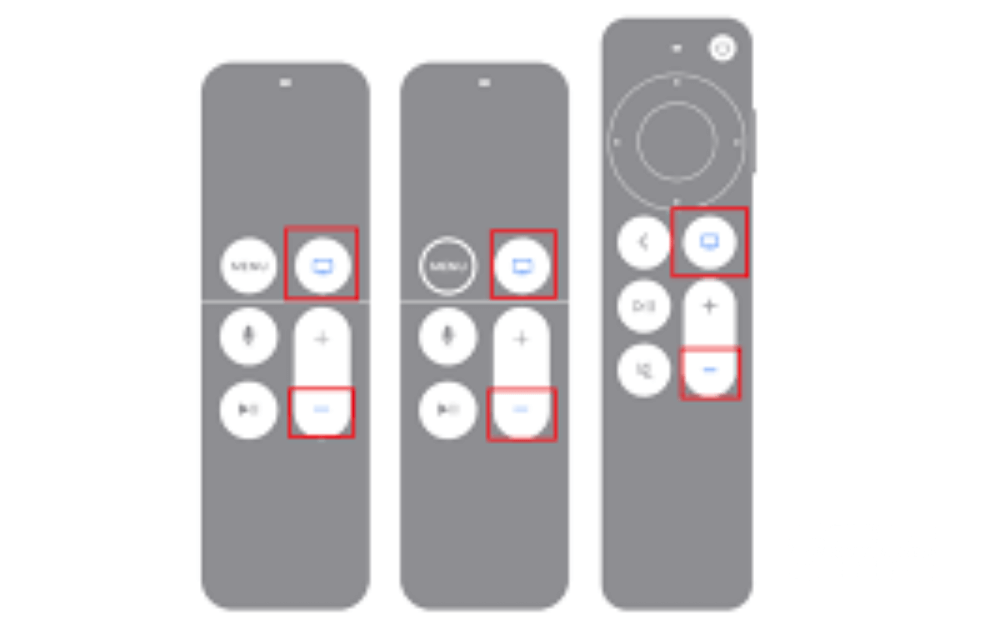
Sometimes, the issue isn’t even that deep. All you need to do is give your remote some time to breathe. What does that mean?
It means you just need to restart the remote. You should follow this method.
- Navigate the back cover of your remote. Open it and remove the batteries.
- Press all the buttons on the remote one by one.
- Now, put the batteries back into the remote.
This method easily restarts your Philips TV remote. If you haven’t replaced the batteries in your remote for a very long time, follow the method mentioned in this guide to do that as well.
4. Remove Any Obstructions
Your Philips TV must receive proper signals from the IR remote control to operate properly. But what if there’s some interference? If so, your remote will not function properly. That’s why you should check for obstructions that might be hindering the IR remote signal. Let’s look at how you can resolve this issue.
- Bright lights, such as fluorescent lights, can interfere with the remote’s signal. While watching TV, you should turn off these lights.
- If there are any electronic devices near your TV, remove them. If that’s not possible, turn them off.
Note: Sometimes, there are two TVs in a room. As a result, the second TV starts picking signals from the remote control instead of the first one.
5. TV Restart Process
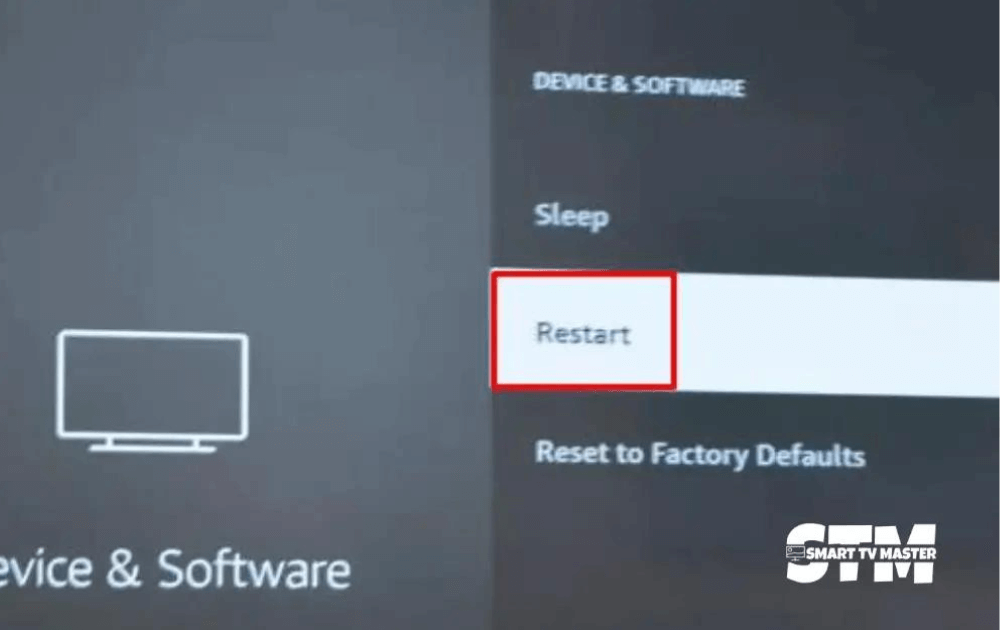
Software errors are quite common in Philips TVs. Because of this, your TV remote may show errors and not work properly. In this case, you should restart your TV. This method solves many Philips TV system and software problems.
- On your Philips TV remote, navigate the physical Power button.
- Now press and keep holding it until your TV turns off.
- Remove the TV cable from the power outlet.
- Wait for a few minutes. During this time, Philips TV will power cycle.
- Now replace the TV plug from the power outlet.
- Turn on your TV. Press your remote buttons and check if it’s working well now.
6. Remote Pairing
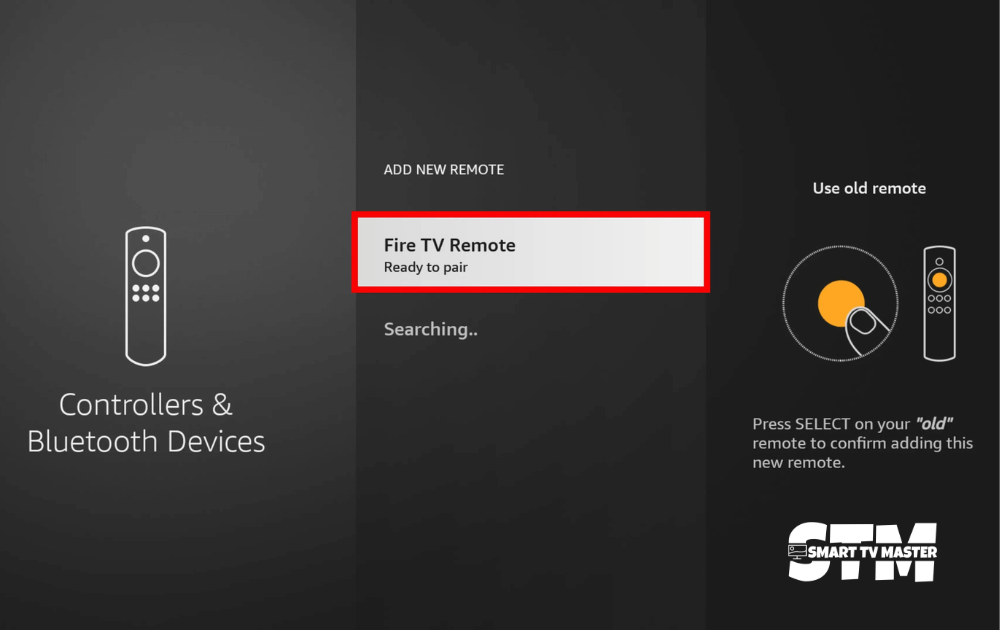
Often, the pairing of the remote with Philips TV is disconnected. Why does that happen? Maybe you or someone else accidentally disconnected it, or there’s a temporary glitch. To resolve this, you should pair your remote again. Follow the steps given below.
- On the remote control, find the Mute button. Press and keep holding both buttons along with the OK button simultaneously.
- You’ll notice that after 5 to 10 seconds, the Philips TV remote will return to its initial state.
- Navigate the Pair or Set button on the remote control. Press it one time.
- A pairing guide will appear on your Philips TV screen. At the same time, your remote control will flash blue.
- Press some buttons once you’ve successfully paired the remote with the Philips TV. It will most probably resolve the problem, and the remote will start working again.
7. Reset TV & Remote
If you’ve tried all the fixes mentioned in the article but the stubborn problem still persists, it’s best to reset your Philips TV and remote. But remember that resetting your data is equivalent to wiping all the data. Moreover, login history, customizations, and details will be erased. So, you should note all the essential information before proceeding.
Now, let’s look at how to reset your Philips TV and remote.
Reset Philips Android TV
- Go to the Home Screen of Philips Android TV. From here, click on Settings.
- Click on the option Device Preferences.
- A menu will appear from here. Tap on Reset.
- Select Factory Data Reset.
- Now you’ll get a confirmation: Erase Everything. Click on it, and the reset process will begin.
Reset Philips Roku TV
- Navigate the Home screen of your Philips Roku TV.
- Go to Settings. From here, select System.
- From the list, tap on Advanced System Settings.
- On the right side, you’ll see Factory Reset. Type your code.
- Lastly, click on OK to confirm the reset process.
FAQ’s
Q: Why is my Philips TV remote not working Properly?
A: Here are some Troubleshooting Tips for your Philips TV remote not working.
- Change your Remote Batteries
- Check your remote status
- Restart your Remote
- Remove Any Obstructions
- Restart your Philips TV
- Again Pairing Remote
- Reset Both TV & Remote
Conclusion
Resolving Philips TV remote issues isn’t difficult. All you need to know is the right order to fix things. This guide has provided the exact methods for enjoying streaming freely on your Philips TV. Have you tried all the methods, but your Philips TV remote still isn’t working? If so then you should look for a new Philips TV remote. Contact us if you need any assistance in resolving your Smart TV issues or leveling up your movie-watching experience. If you want to expand your knowledge of Smart TVs and learn more about their features, check out our expert guides here. These are written by experts and you can access them for free.


![[7 Solutions] to Fix Onn TV Problems - STM 23 Onn TV Problems](https://smarttvmaster.com/wp-content/uploads/2024/11/Onn-TV-Problems-380x250.png)
![Ge Roku Remote Not Working | How to Fix [7 Easy Methods] 27 Ge-Roku-Remote-Not-Working -How-to-Fix-[7-Easy-Methods]](https://smarttvmaster.com/wp-content/uploads/2025/03/Ge-Roku-Remote-Not-Working-How-to-Fix-7-Easy-Methods-380x250.png)
![How to Fix Roku Photo Stream Not Working [6 Methods] 31 How-to-Fix-Roku-Photo-Stream-Not-Working-[6-Methods]](https://smarttvmaster.com/wp-content/uploads/2025/02/How-to-Fix-Roku-Photo-Stream-Not-Working-6-Methods-380x250.png)
![Hisense TV Remote Not Working? [10 Effective Ways to Fix It] 32 Hisense-TV-Remote-Not-Working-[10-Effective-Ways-to-Fix-It]](https://smarttvmaster.com/wp-content/uploads/2024/03/Hisense-TV-Remote-Not-Working-10-Effective-Ways-to-Fix-It-380x250.png)